

Resources allow the Coach to share materials with their Participants at various times throughout the engagement. The Resource may include text, video, image or other uploads. The Participants will be able to access the share Resources at any time on any device.
NOTE: Resources can be used across all of your projects, saving you time and enabling you to repurpose your content.
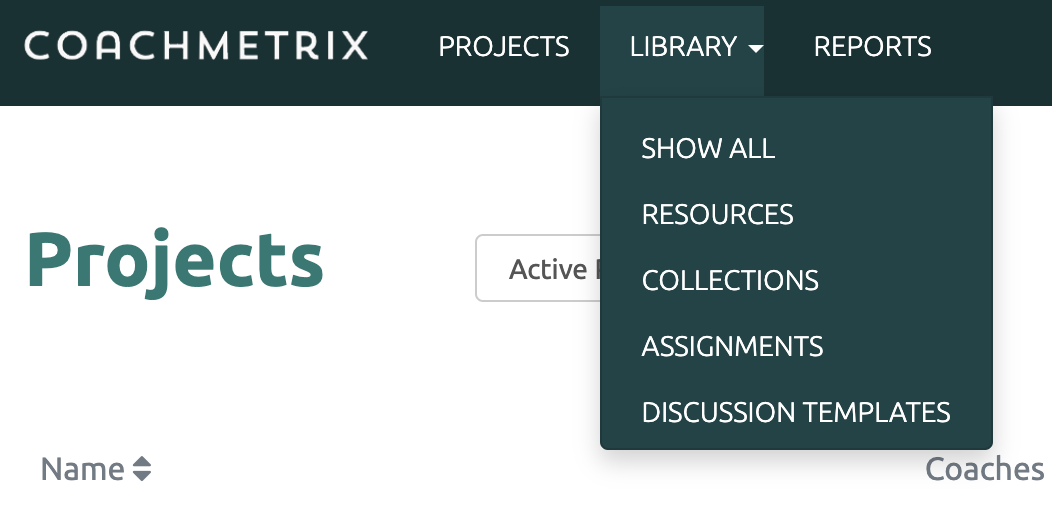
Resources can be found by clicking the Library option on the black bar at the top of the page and selecting Resources from the drop down menu.
Creating a Resource
First click on the Add New button in the upper right corner.

Then, populate a title and in the body, insert any text, images and/or video link (Vimeo or YouTube).
For more information regarding video: Add Video to Your Resources.
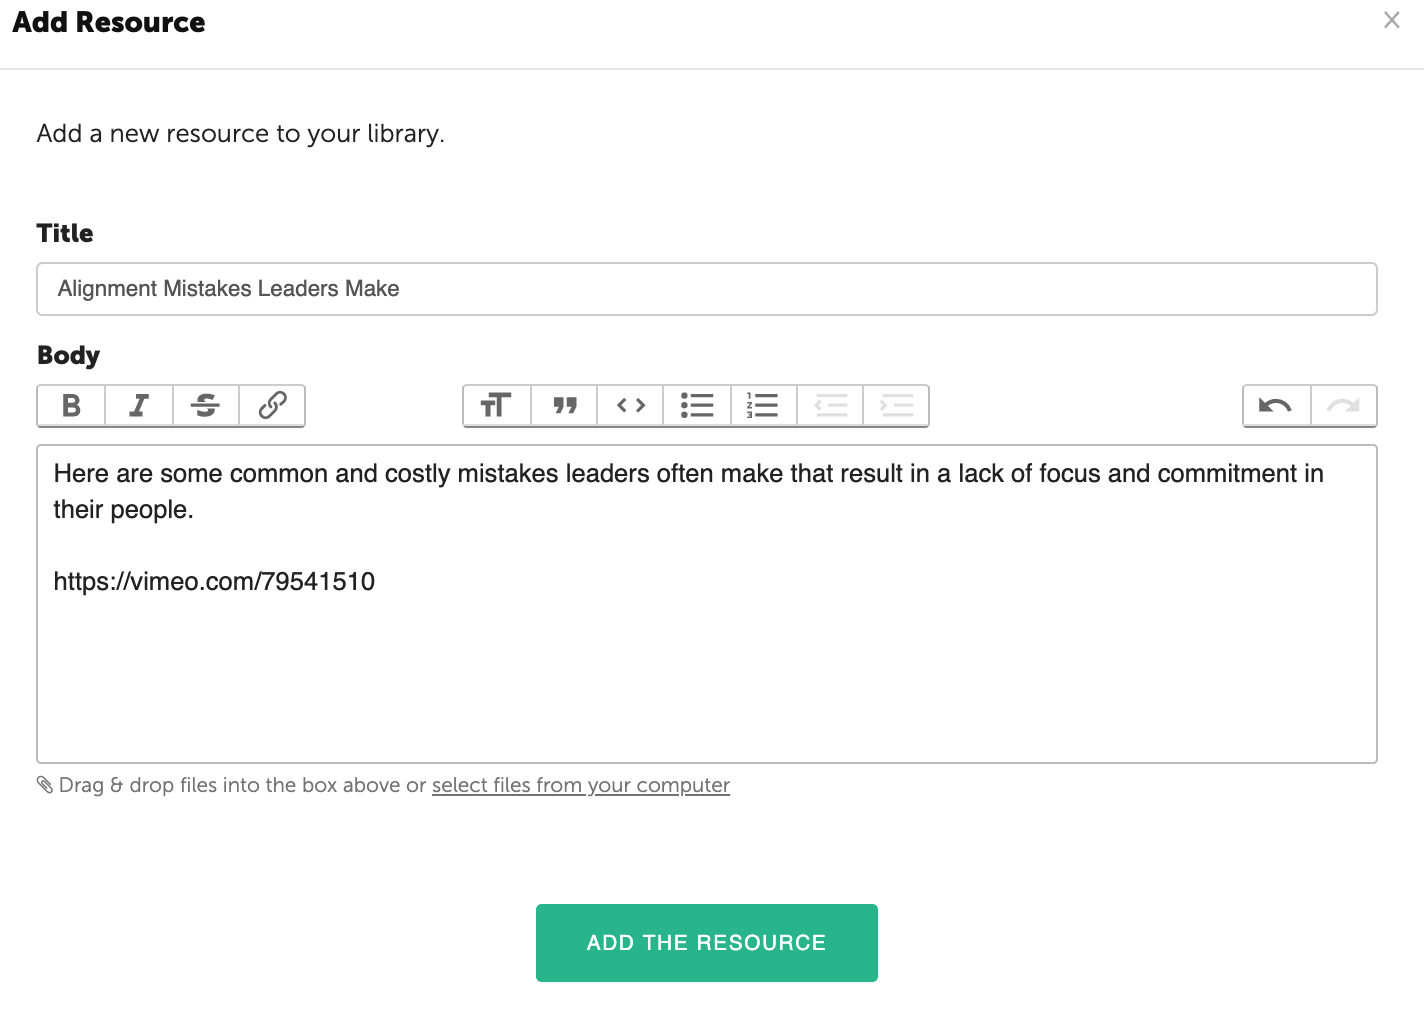
To save the Resource, click the Add the Resource button at the bottom.
Sharing A Resource /Collection with Participants
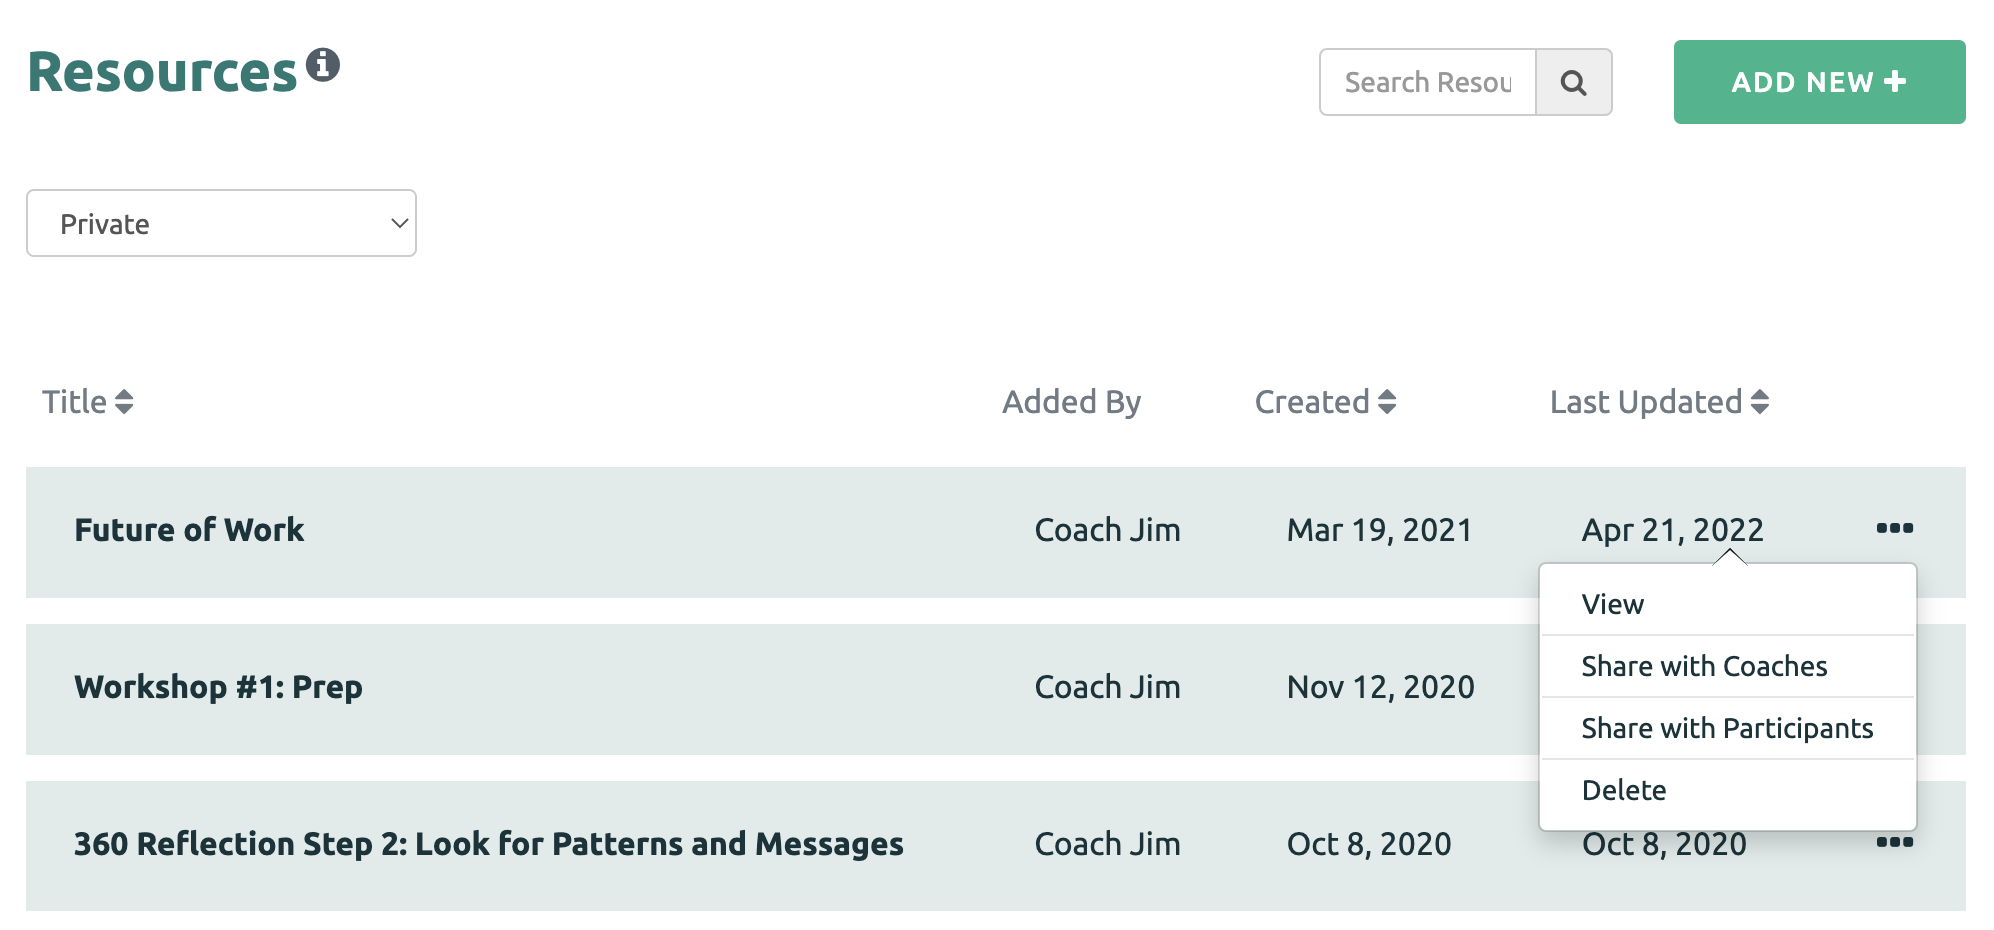
To share a Resource or Collection, click on the three dots for the Resource, and select the Share with Participants option.
Then select the Project arrow to view the Participants and check the box next to the Participant(s) name to receive the Resource / Collection.
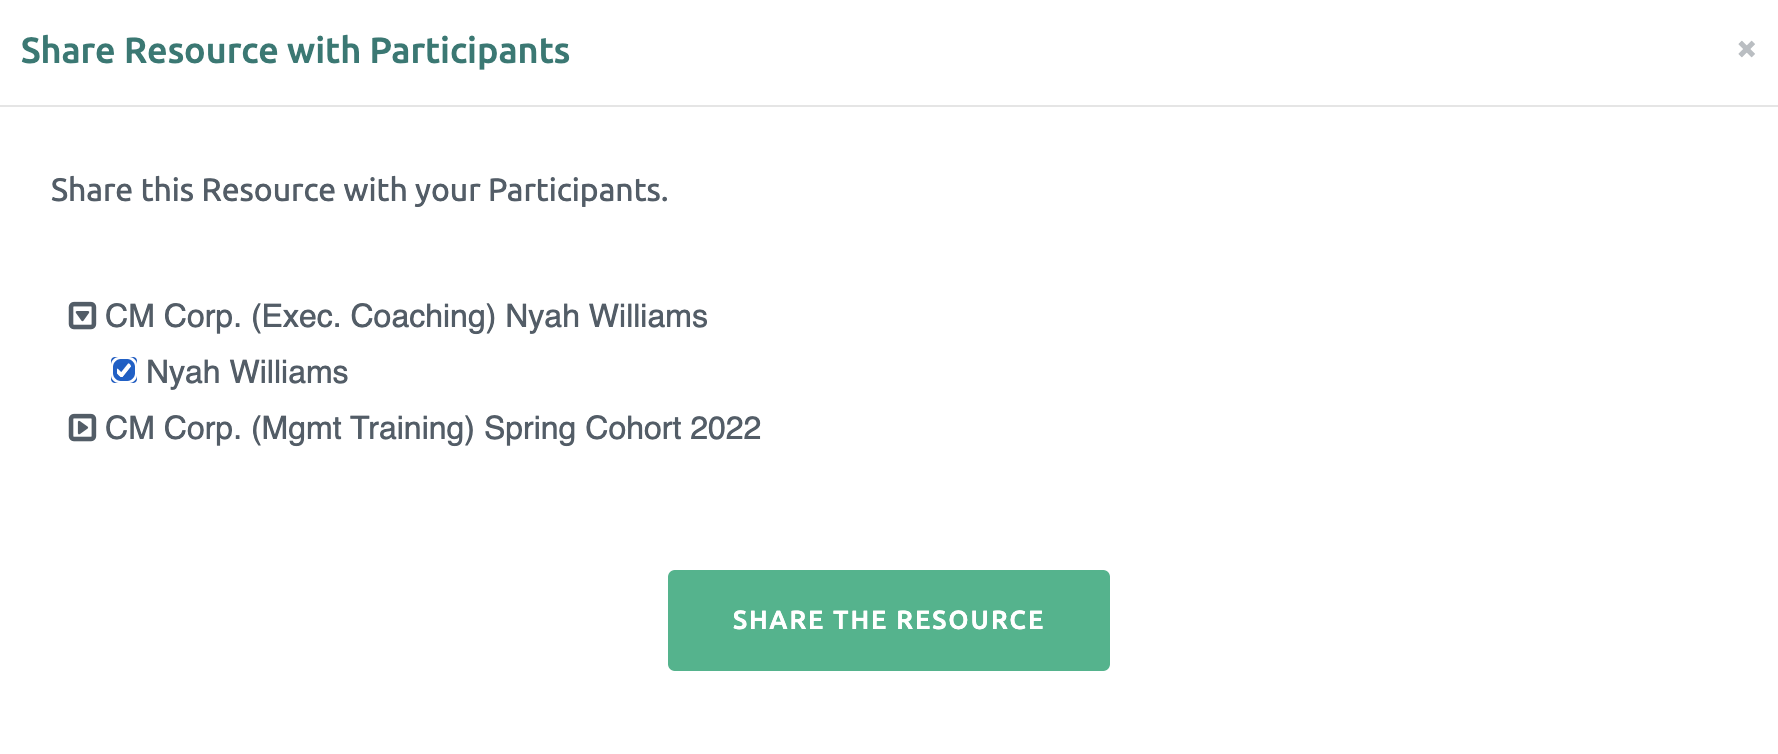
When finished, click the "Share the Resource" green button and the Resource / Collection will be available in the Participant's portal.